Vikings, Lions and Jeeps, 3D printing update
I have already rambled on here once about 3D printing in libraries. Since our first semester of living with 3D printing is almost over, I thought I’d report on some of our observations here at Penn State Wilkes-Barre.
We placed our Micro3D printer in a prominent location, and it immediately became the most talked-about piece of equipment in the library. It’s very cute, and blue, and little, and quiet. Since September, I would say we are averaging about 3 prints per week for students, and the rest of the time the library staff prints objects of use (pen holders are popular with us. I have yet to find a good design for keeping my cords untangled in my purse, however). Students have requested knick-knacks such as key chains using a Jeep logo, the Nittany Lion mascot and other animals, and props for class projects, like this Viking Longboat (more on that later).
Our system is simple. Students email us a design file and specify a color. We print it. We have had successes and failures. When we fail, we will discuss with the student and either try to find an alternate design, or, if we are so inclined, see if we can identify the flaws. In truth, a lot of the designs available for download on Thingiverse are not the most stable or well thought out. But we have been impressed with our Micro3D printer, which seems to have no problem running 8-10 hours every day.
The Micro3D does have its limitations. Early on, students wanted to print cases for their phones and the bed of the Micro3D is not large enough to accommodate most modern smart phone cases. I optimistically stated back in July that I wanted to try to build my own 3D printer. Well, time ran out on that over the summer, and an Engineering instructor took pity on us and loaned us a DIY printer that they built over the summer, the SeeMeCNC Rostock Max, v. 2.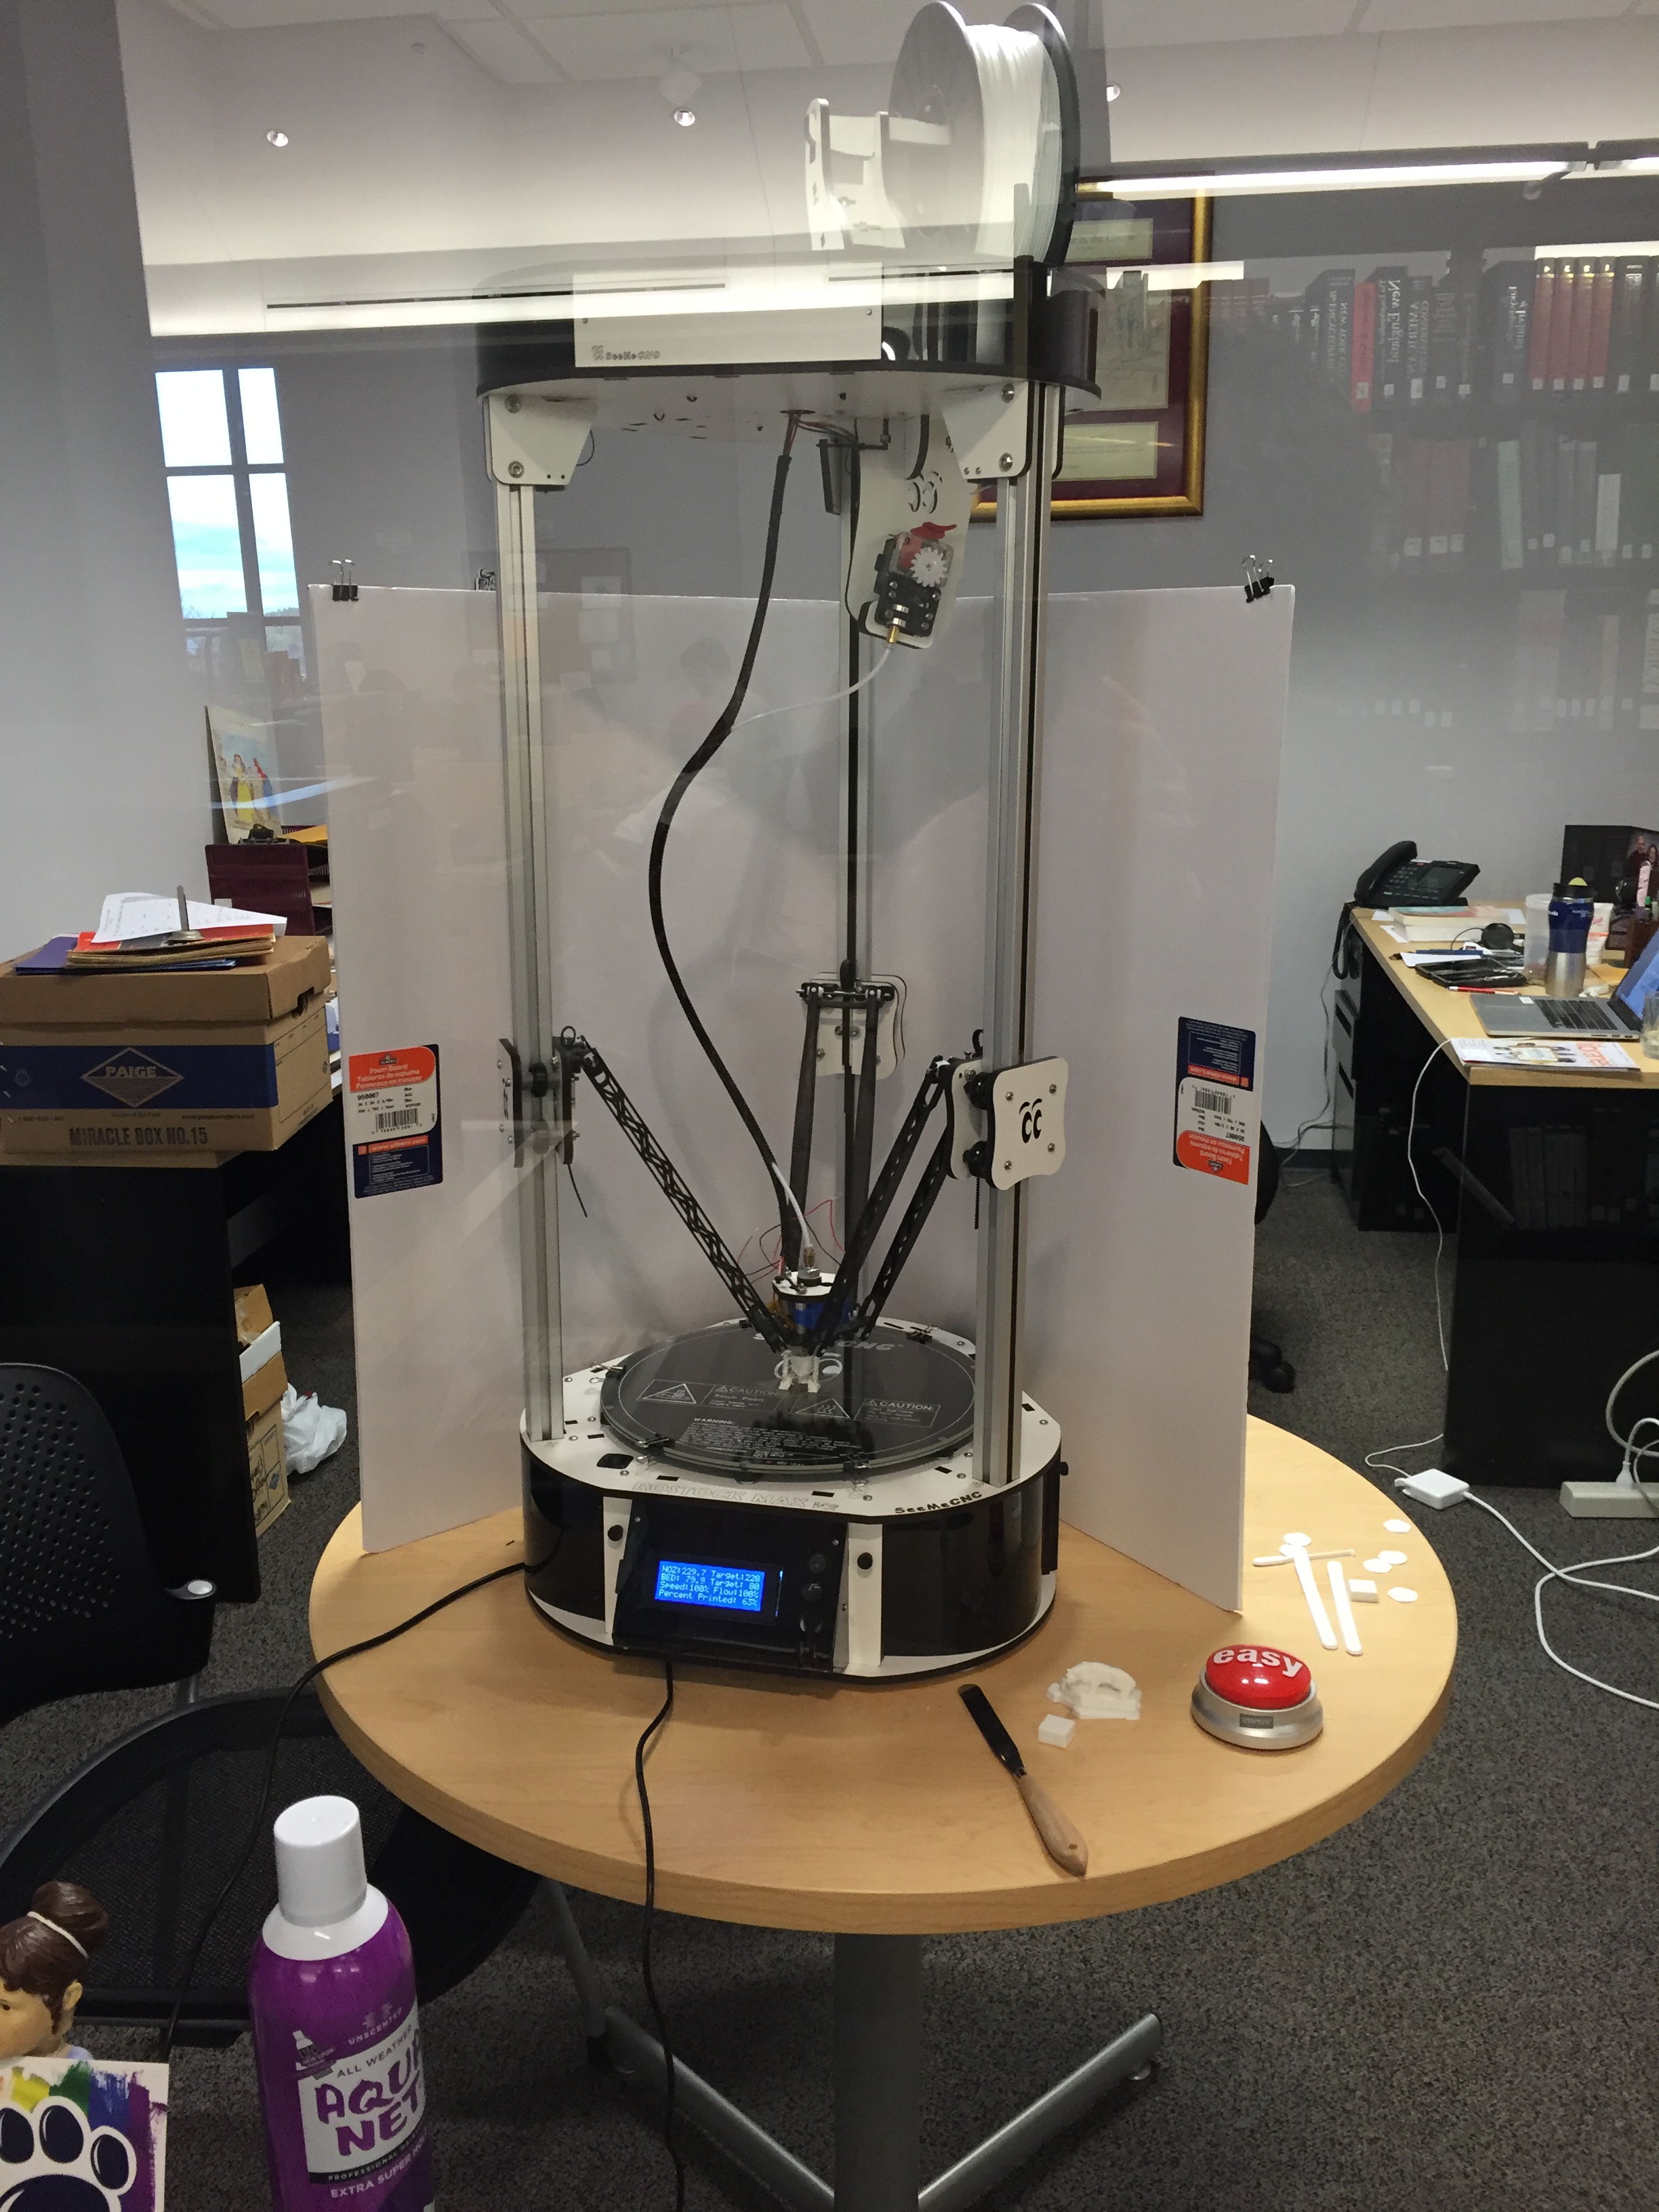
The Rostock Max is more imposing than the Micro3D, and also a great conversation starter. It is louder, and, as a result, sits on a table in front of a large window in my office. It definitely encourages students to peek their heads in and talk to me. One student provided me with detailed instructions to build a plexiglass shroud to surround the printer (I currently use poster board to try to block drafts from my vents and skylight, which I have found can have negative affects on my printing attempts).
This is not a plug and play machine. The instruction manual is 373 pages and includes numerous links to how-to videos. Lucky for me, the instructions on how to use the machine do not start until page 245 (the manual is hilarious. SeeMeCNC seems to have a good sense of humor). Our Engineering mentor encouraged me to try to download the required software (called “Matter Control”) and calibrate the machine on my own. I did not do too badly, but it is a tedious job, and requires regular monitoring. The main thing is to ensure that the extruder (i.e. the nozzle from which the plastic dispenses) is the correct height from the glass (it must be close enough that a piece of paper can move, under it, but not easily). Then it is necessary to check the height of the nozzle at three additional points on the glass. If any of those points are too high or too low, then actual screws need to be tightened or loosened with a regular Phillips-head screwdriver. Then you have to run the whole calibration test over again. It takes about 87 tries before everything is perfect, and there is a fascinating YouTube video, if you want more detail. Occasionally, the calibration just goes out of whack on its own. I blame it on the same ghosts who set off our security gates at random times when the library is empty.
 My first print, a square box, turned out well. But after that, no plastic would come out of the nozzle. Turns out, it can get jammed in there. The printer is also highly configurable. The standard plastic for 3D printers is 1.75mm in diameter. However, hard-core 3D printer users recommend measuring the plastic at five different points with calipers, and then averaging the measurement and adjusting the printing software accordingly. I am not going to do this. Ever.
I then managed to print a fancy box, designed by my colleague, to be used in a display. However, she needed four, and after the first one, we had multiple disasters that involved the design slipping on the glass and creating spaghetti-like abstract art. This was despite my liberal application of AquaNet hairspray to the glass print bed to prevent sliding. SeeMeCNC recommends a coating of Elmer’s glue, but my Engineering mentor swears by the AquaNet.
The poster-board semi-shroud around the printer seems to have solved some problems. Just like my late-great-aunt, this printer is sensitive to drafts. Before each print, the bed has to heat to 80C, and the nozzle to 220-228C. My Engineering mentor suspected that the initial plastic jam was due to hot plastic sitting too long in the nozzle, so there are apparently settings to force the printer to heat the bed first, and then the nozzle, so that as soon as the nozzle is hot, it starts to print and doesn’t sit, waiting. Remember the Viking Longboat mentioned above? A student needs that for a display case for a class project. The design is too large for the Micro3D. I successfully printed the mast, the oars, and the shields, but have not managed to print any other components yet. After three attempts, I postponed the sail until I could receive some more expert help, as the plastic kept bubbling up on the surface of the printer bed and ultimately turning into a gooey mess.
We have only been printing with ABS plastic (we have been using PLA on the Micro3D printer). PLA is supposed to be more forgiving, but in order to use the PLA, we needed to install a fan on the printer, and that only happened last week. I suspect that some of our problems could be solved by increasing the density or quality of our prints, and by printing with extensive support material. The Micro3D printer makes this simple – their software allows a user to check off boxes to include supports, and to specify density of the print from a pull-down menu. The Rostock’s Matter Control software is much more crazy complex.
I don’t know that I had a research question going into this project. I know I wanted to explore whether or not new technologies like this would engage students and interest students from all disciplines. It seems that the answer to that is yes. I also wanted to experiment with different and more complex printers. For my own professional development, using the more advanced Rostock printer has been eye-opening and valuable. I’ve learned about different plastics, and also which designs tend to work with and without supports. But I wouldn’t recommend that any library buy a DIY printer kit, build one, and attempt to incorporate it into their service model. It requires too much care, calibration, and patience.
Due to the popularity of the service, however, I will likely start to explore larger plug and play printers in order to accommodate larger designs, and try to learn more of the 3D modeling software.


Can you tell me how much the print supplies for the Micro3D cost? Is there any kind of “cost recovery” program in place?
Narda – right now, we are not attempting to recover costs, because we really weren’t sure what the demand would be. A kg (2.2lb) reel of standard white PLA filament costs around $39. The little spools that they sell specifically for the Micro3D are around $14 for 0.5 lb. So we have started buying the larger spools from another vendor and the Engineering department made us a stand to hold them. But a large kg reel will last a long time, even with big demand. We have also had students ask if they could supply their own filament, if they want a color that we don’t have, and I have no problem with that. If it gets really popular, we might have to figure out a charging method, but I’d like to provide it for free as long as we can. The Engineering department is also supplying some filament, and we received a small grant to buy enough reels to last us quite a long while. I know that University of Maryland, for example, charges by weight ($0.20/gram) for 3D printed objects, if that helps. Considering that a large reel costs $39, that’s a 4x materials recovery (although it probably takes into account staffing, equipment, etc.). But also bear in mind, we have less than 600 students… so not sure how well the “free” model would scale to a larger institution.